Configuring Azure Authentication for React App (OIDC)
Authored on 21/12/2021
datahub-frontend server can be configured to authenticate users over OpenID Connect (OIDC). As such, it can be configured to
delegate authentication responsibility to identity providers like Microsoft Azure.
This guide will provide steps for configuring DataHub authentication using Microsoft Azure.
Even when OIDC is configured, the root user can still login without OIDC by going
to /login URL endpoint. It is recommended that you don't use the default
credentials by mounting a different file in the front end container. To do this
please see this guide to mount a custom user.props file for a JAAS authenticated deployment.
Steps
1. Create an application registration in Microsoft Azure portal
a. Using an account linked to your organization, navigate to the Microsoft Azure Portal.
b. Select App registrations, then New registration to register a new app.
c. Name your app registration and choose who can access your application.
d. Select Web as the Redirect URI type and enter the following:
https://your-datahub-domain.com/callback/oidc
If you are just testing locally, the following can be used: http://localhost:9002/callback/oidc.
Azure supports more than one redirect URI, so both can be configured at the same time from the Authentication tab once the registration is complete.
At this point, your app registration should look like the following:
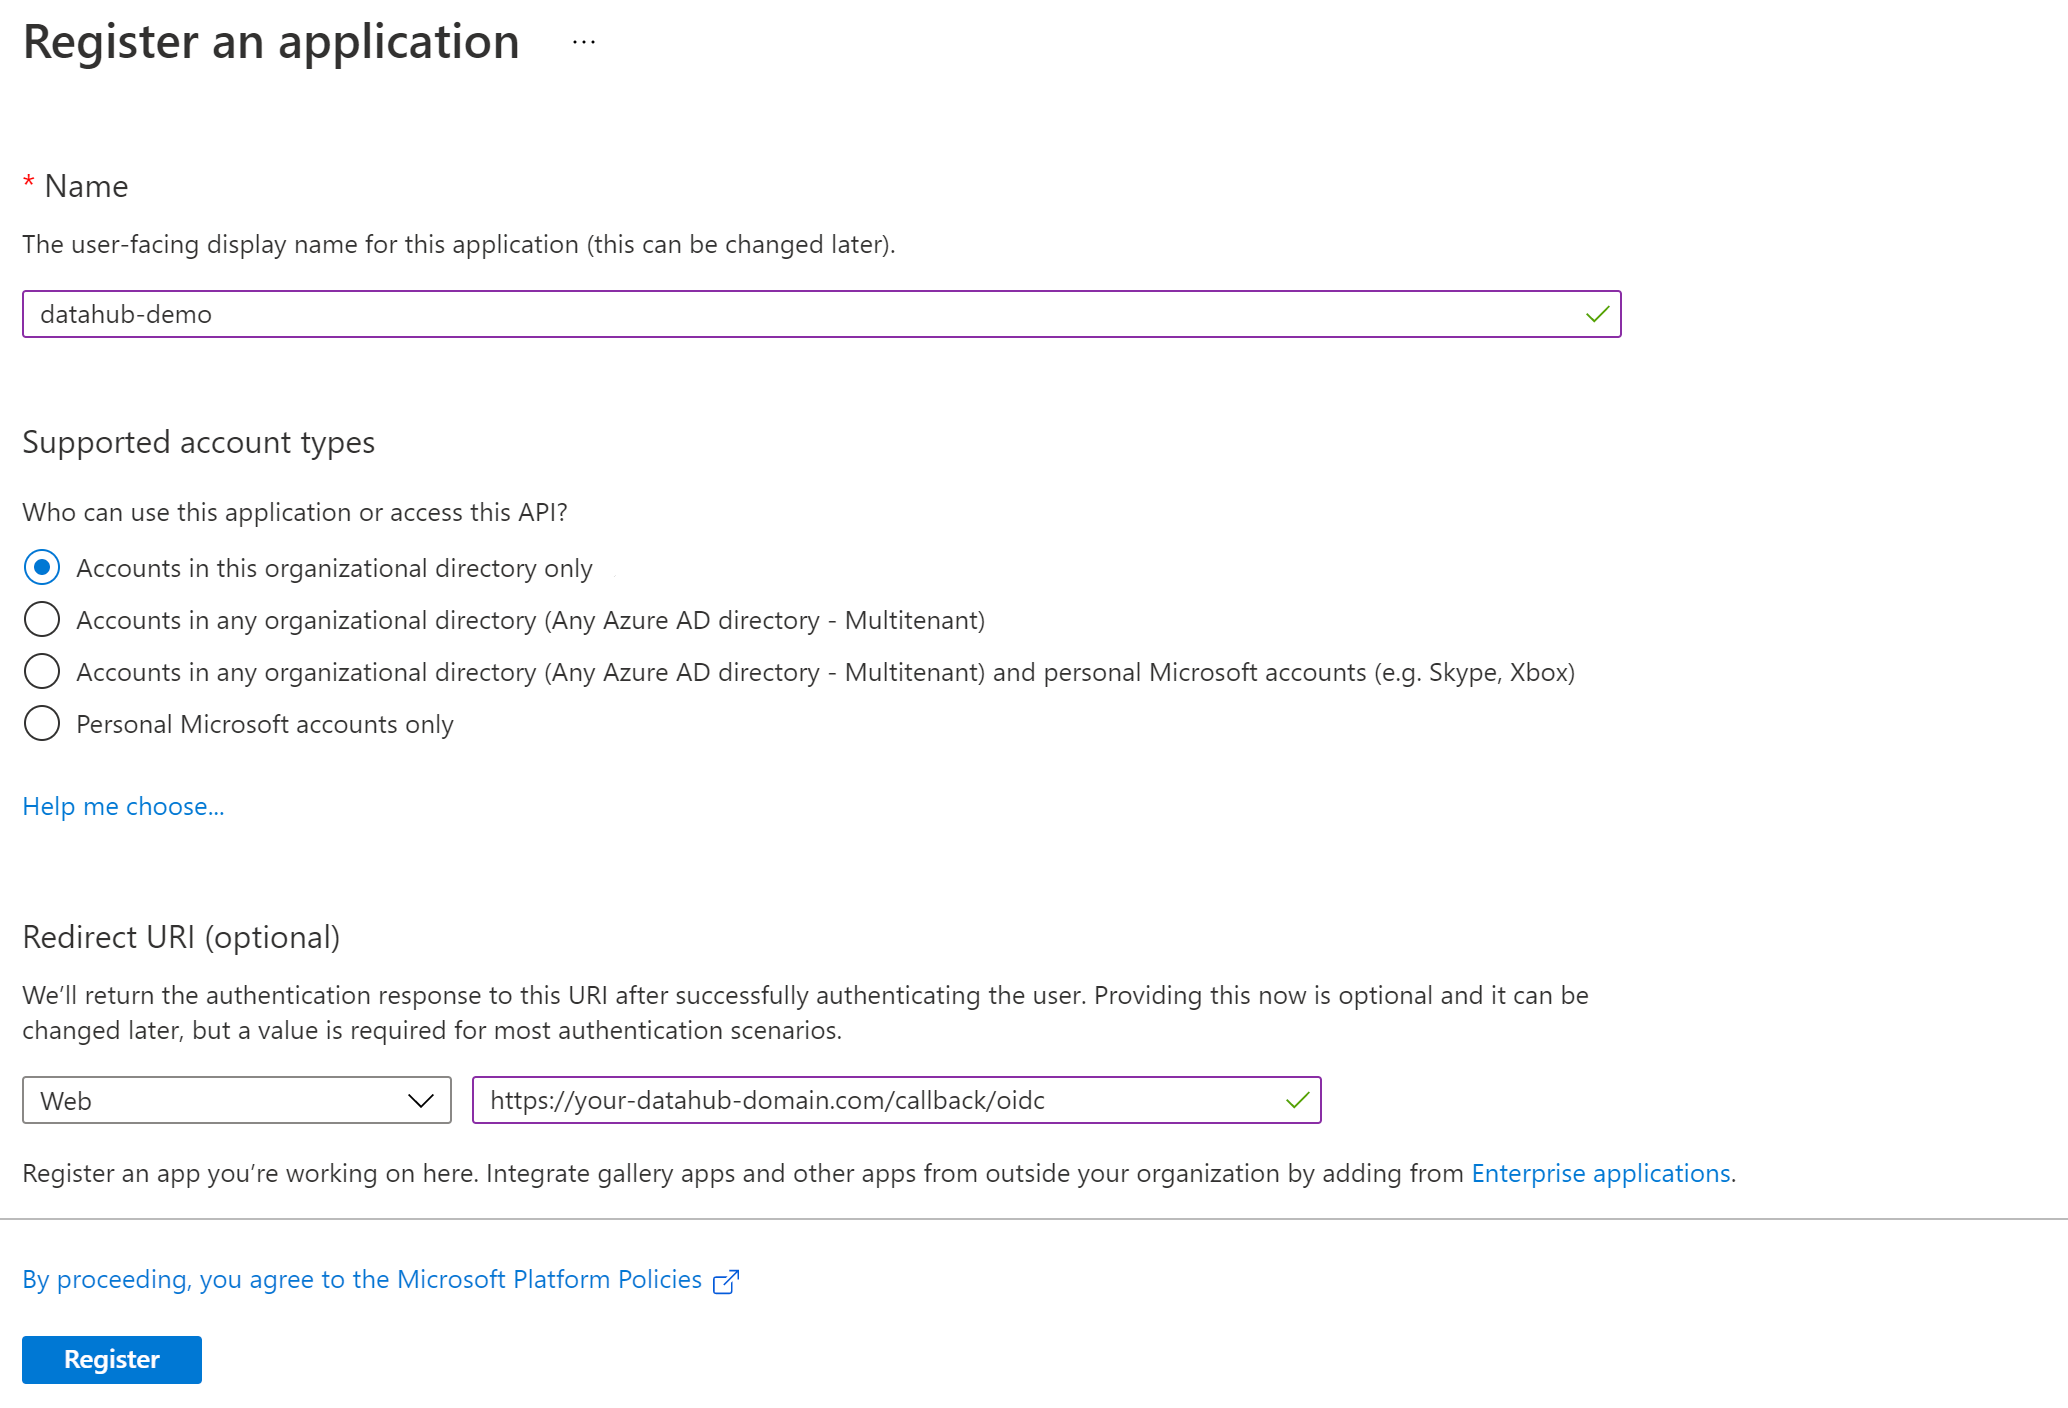
e. Click Register.
2. Configure Authentication (optional)
Once registration is done, you will land on the app registration Overview tab. On the left-side navigation bar, click on Authentication under Manage and add extra redirect URIs if need be (if you want to support both local testing and Azure deployments).
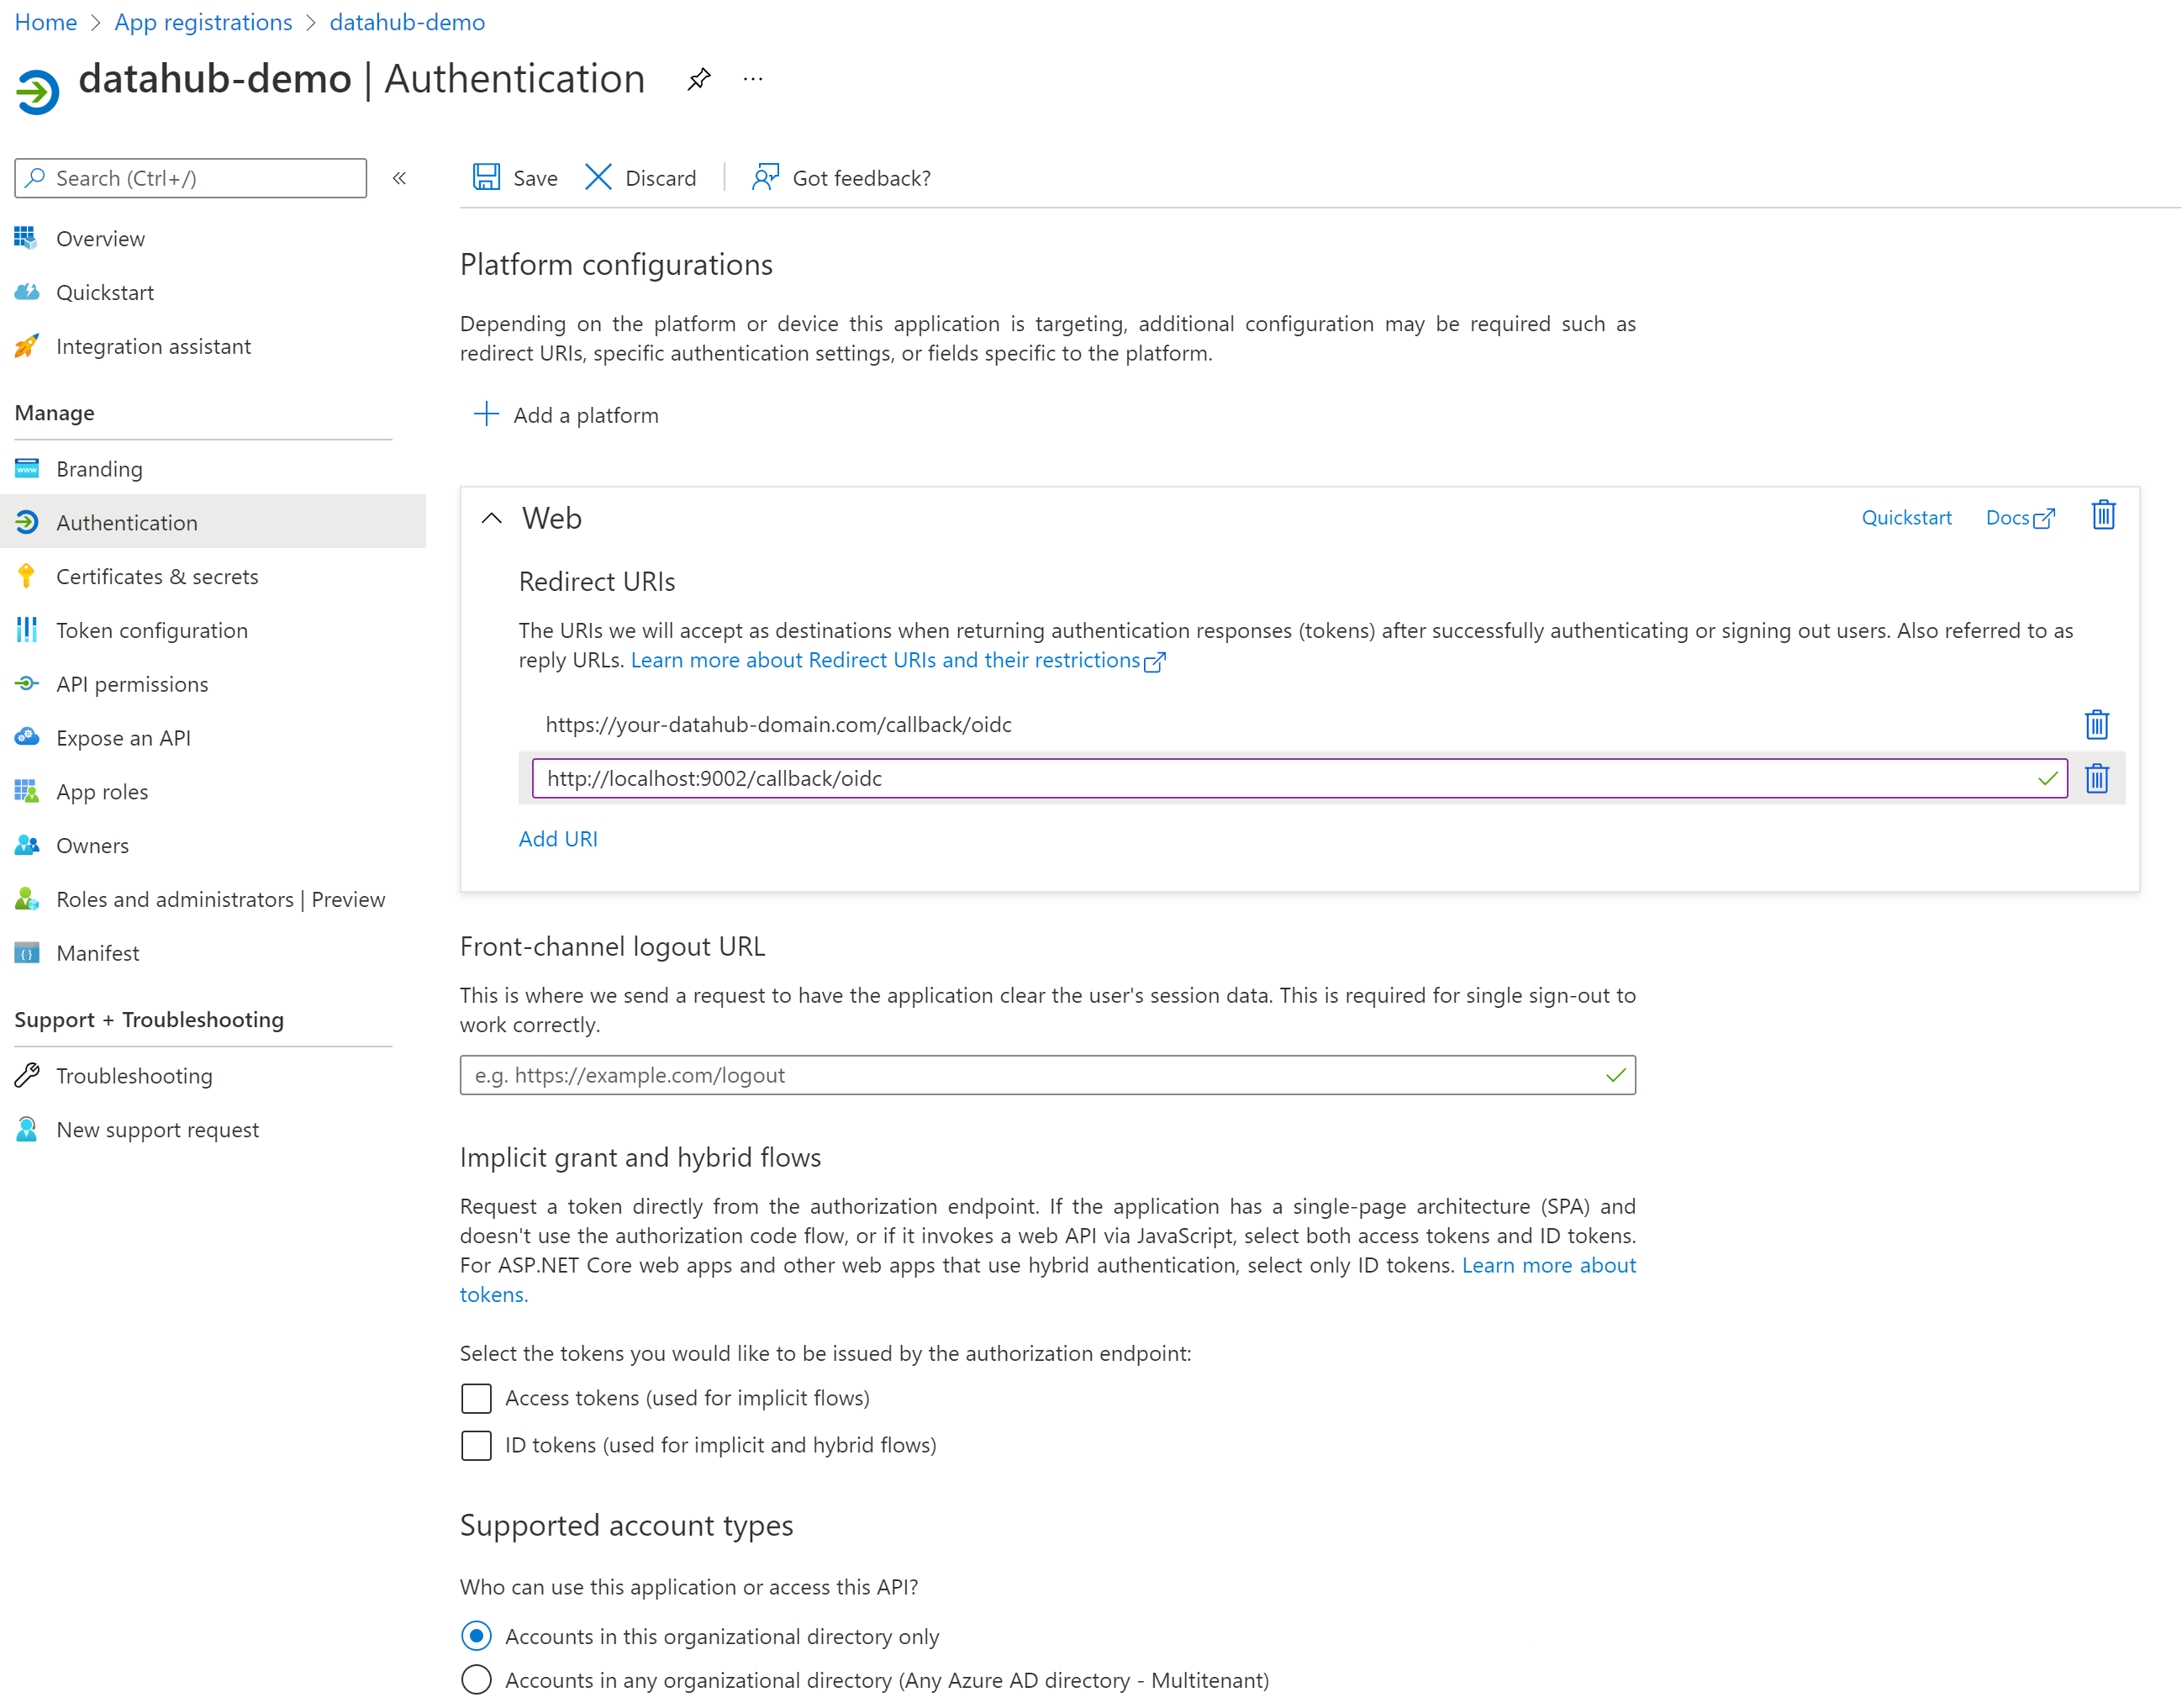
Click Save.
3. Configure Certificates & secrets
On the left-side navigation bar, click on Certificates & secrets under Manage.
Select Client secrets, then New client secret. Type in a meaningful description for your secret and select an expiry. Click the Add button when you are done.
IMPORTANT: Copy the value of your newly create secret since Azure will never display its value afterwards.

4. Configure API permissions
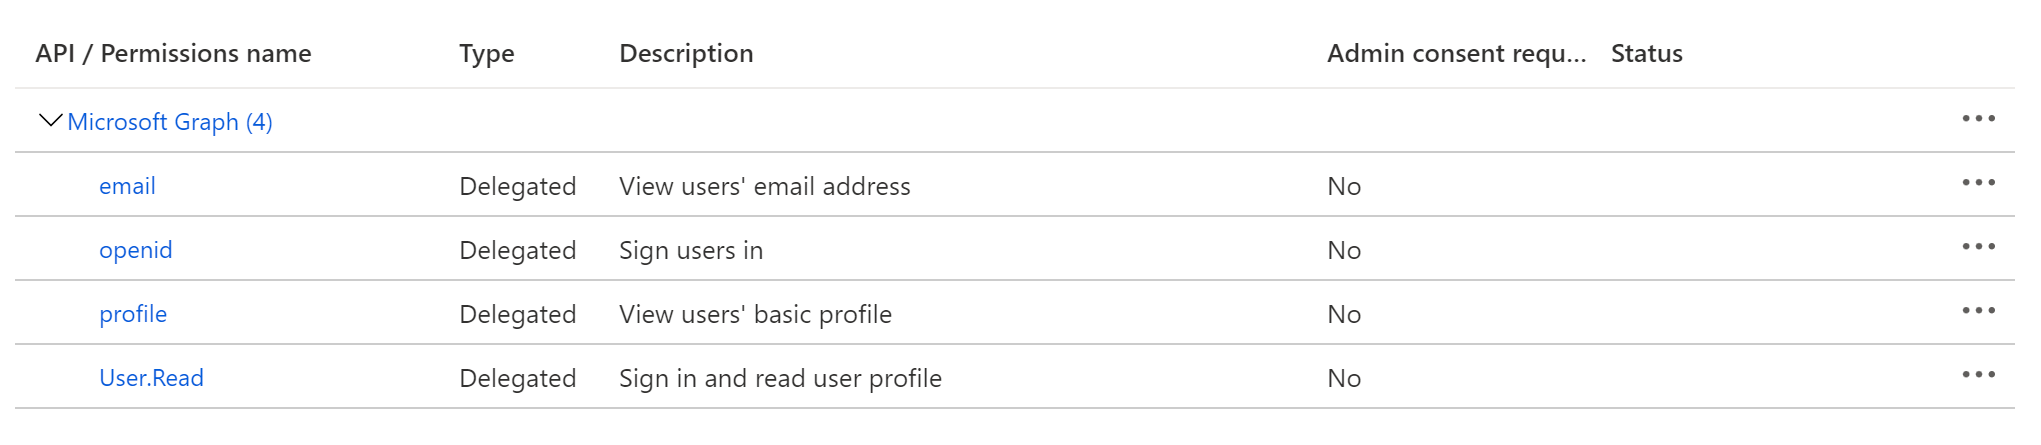
On the left-side navigation bar, click on API permissions under Manage. DataHub requires the following four Microsoft Graph APIs:
User.Read(should be already configured)profileemailopenid
Click on Add a permission, then from the Microsoft APIs tab select Microsoft Graph, then Delegated permissions. From the OpenId permissions category, select email, openid, profile and click Add permissions.
At this point, you should be looking at a screen like the following:
5. Obtain Application (Client) ID
On the left-side navigation bar, go back to the Overview tab. You should see the Application (client) ID. Save its value for the next step.
6. Obtain Discovery URI
On the same page, you should see a Directory (tenant) ID. Your OIDC discovery URI will be formatted as follows:
https://login.microsoftonline.com/{tenant ID}/v2.0/.well-known/openid-configuration
7. Configure datahub-frontend to enable OIDC authentication
a. Open the file docker/datahub-frontend/env/docker.env
b. Add the following configuration values to the file:
AUTH_OIDC_ENABLED=true
AUTH_OIDC_CLIENT_ID=your-client-id
AUTH_OIDC_CLIENT_SECRET=your-client-secret
AUTH_OIDC_DISCOVERY_URI=https://login.microsoftonline.com/{tenant ID}/v2.0/.well-known/openid-configuration
AUTH_OIDC_BASE_URL=your-datahub-url
AUTH_OIDC_SCOPE="openid profile email"
Replacing the placeholders above with the client id (step 5), client secret (step 3) and tenant ID (step 6) received from Microsoft Azure.
9. Restart datahub-frontend-react docker container
Now, simply restart the datahub-frontend-react container to enable the integration.
docker-compose -p datahub -f docker-compose.yml -f docker-compose.override.yml up datahub-frontend-react
Navigate to your DataHub domain to see SSO in action.